The first five lifecycle journeys a SaaS should build
Welcome, trial-to-paid, feature adoption, re-engagement and win-back: the trigger, steps, exit and metric for each, and the order to build them in.
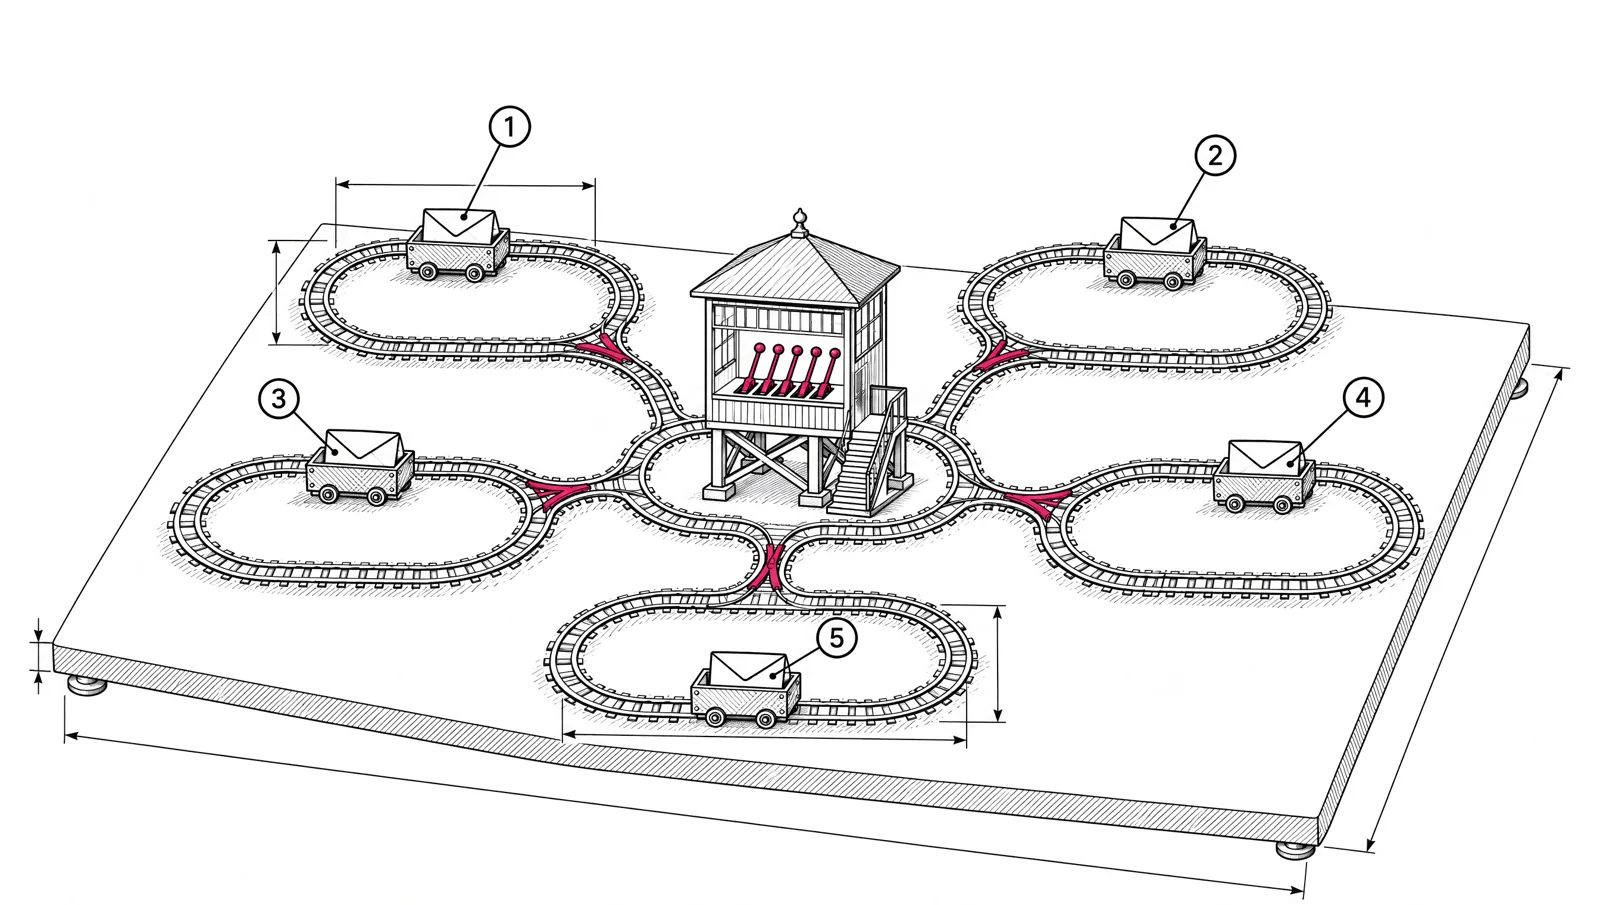
A SaaS needs five automated journeys before anything else: welcome and activation, trial to paid, feature adoption, re-engagement of dormant users, and win-back after a cancellation or failed payment. Together they cover a customer from signup to churn. This post gives each one a trigger, a short list of steps, an exit rule and one metric, and shows how they hand users from one to the next.
What a lifecycle journey is
A journey is an automated flow that starts on a trigger, sends a few emails with waits in between, branches on what the user does, and ends when its goal is met. Lifecycle journeys follow the customer’s stage in your product, not your marketing calendar.
Each journey in this post is defined by four things:
| Part | Meaning |
|---|---|
| Trigger | What puts a user into the journey |
| Steps | The emails, waits and branches |
| Exit | The rule that takes the user out before the next email |
| Metric | The one number that says whether it works |
Opens are not on the metric list. Privacy features in mail apps make them unreliable. See which email metrics to trust.
The five journeys at a glance
| Journey | Trigger | Exit | Metric |
|---|---|---|---|
| 1. Welcome and activation | Signup event or list subscribe | Activation event | Signups activated within 7 days |
| 2. Trial to paid | plan field changes to trial | plan changes to paid | Trials that convert |
| 3. Feature adoption | Journey 1 completed, or activated tag added | Feature used | Users who adopt the feature within 14 days |
| 4. Re-engagement | dormant tag added by your app | User active again | Dormant users who return within 30 days |
| 5. Win-back | subscription_cancelled event | Resubscribed | Cancelled accounts that come back within 90 days |
Every trigger here exists in the EmailMarketer.io journey builder: custom events, tag added or removed, custom field changed, list subscribe, journey completed, and a manual start through the API. Conversion and revenue triggers let you react to purchases you track.
1. Welcome and activation
The goal is the activation event: the first action that shows a user got value, such as sending a first invoice or inviting a teammate. Choose it from your product data, then point every email at it. The guide to onboarding emails triggered by product events covers how to pick it and how to send events.
- Trigger: custom event
signed_up, or list subscribe if signup adds users to a list. - Steps:
- Welcome email, sent at once, with one link to the first setup step.
- Wait 2 days. Branch: has the user taken the first step? If not, send a how-to email for it.
- Wait 2 days. Branch: activated? If not, send a short email that removes the most common blocker.
- Wait 3 days. A plain-text email from a person on your team, asking what got in the way.
- Exit: the activation event, or an
activatedtag your app adds at the same time. - Metric: share of signups that activate within 7 days. Compare signup cohorts before and after a change.
2. Trial to paid
If you run a free trial, this journey turns active trial users into customers. It runs alongside journey 1. Journey 1 is about value, journey 2 is about the decision to pay.
- Trigger: custom field
planchanges totrial. - Steps (for a 14-day trial, counted from the trigger):
- Wait 7 days. Branch on activation. Activated users get an email about the paid features they haven’t tried. Users who haven’t activated get help reaching activation.
- Wait 4 days (day 11, 3 days before the end): what happens when the trial ends, the price, and the upgrade link.
- Wait 2 days (day 13): a short reminder.
- Wait 2 days (day 15, the day after it ends), if not upgraded: how long their data is kept, and how to upgrade.
- Exit:
planchanges topaid, or the account is closed. - Metric: trials that convert to paid. Track the upgrade as a conversion so it shows next to the emails in reports.
3. Feature adoption
Users who activated often use one feature and never find the next. This journey introduces one feature at a time, in the order that makes customers stay longest.
- Trigger: journey 1 completed, or the
activatedtag added. - Steps:
- Wait 3 days after activation.
- Branch: has the user used feature A? If not, send one email about it with a single link that opens the feature.
- Wait 4 days. Branch on feature B, same pattern.
- Stop after two or three features. More is a newsletter, not a journey.
- Exit: for each step, the user has already used that feature. Your app sends a custom event, such as
report_created, or sets a tag. - Metric: share of activated users who use the feature within 14 days of the email, compared with users who activated before the journey existed.
4. Re-engagement of dormant users
Dormant means the user stopped using the product, not that they stopped opening email. Only your app knows this, so your app decides who is dormant.
- Trigger: tag
dormantadded. Your app adds it when a paying or active user has not logged in for a set number of days, for example 14. A daily job that compareslast_active_atwith today works. - Steps:
- An email about what changed since their last visit, or the one thing their team left unfinished.
- Wait 5 days. Branch: still dormant? Send a short note from a person, offering help.
- Wait 7 days. Branch: still dormant? Hand off to your account team if the account is large, or end.
- Exit: your app removes the
dormanttag when the user logs in again. Use tag removed as the check before each email. - Metric: dormant users who log in again within 30 days.
Email engagement is a separate signal. EmailMarketer.io segments can find contacts who have not opened or clicked in a time window. Use those for list hygiene, as in a sunset policy for inactive subscribers, not to decide whether someone uses your product.
5. Win-back after a cancellation or failed payment
Two kinds of churn need two different starts.
Failed payment. This is involuntary churn: the customer still wants the product, but the card failed. The payment failure notice and the “update your card” emails are transactional. Send them from your billing system or the transactional API, not from a marketing journey.
Cancellation. The customer chose to leave. This is the marketing win-back.
- Trigger: custom event
subscription_cancelled, sent by your app. For failed payments that end in a closed account, send the same event once the account is closed. - Steps:
- At once: confirm the cancellation, say how long data is kept, and ask one question about why they left. A reply is enough.
- Wait 30 days. If you shipped something that fixes the common reasons for leaving, say so.
- Wait 30 more days. One last email with a way back. Then end the journey and leave them on your regular product newsletter if they opted in.
- Exit: the account resubscribes. Track it as a conversion, or set
planback topaid. - Metric: cancelled accounts that come back within 90 days. Replies to the first email are a second signal, and often more useful.
How the five journeys connect
Users should be in one main journey at a time, with journey 2 as the exception during a trial.
| From | To | Handoff |
|---|---|---|
| Journey 1 | Journey 3 | Journey completed trigger, or the activated tag |
| Journey 1 | Journey 2 | Runs in parallel during the trial |
| Any stage | Journey 4 | Your app adds dormant |
| Any stage | Journey 5 | Your app sends subscription_cancelled |
Before each email, check whether the user is in a later stage. A cancelled user should never get a feature adoption email.
Build order
Build them in this order, one per week or two:
- Welcome and activation. It affects every new user.
- Trial to paid, if you run trials. It is closest to revenue.
- Win-back. Short and quick to build.
- Feature adoption. Needs the most product events.
- Re-engagement. Needs the daily dormant job in your app.
Checklist
- Define the activation event and the dormant rule from your product data.
- Send events and fields from your backend:
signed_up, activation, feature use,plan,subscription_cancelled. - Build each journey with a trigger, a few emails, an exit check before every email, and one metric.
- Send payment and trial-charge notices as transactional email.
- Track upgrades and resubscriptions as conversions.
- Review per-step stats once a month and cut steps nobody clicks.
All five journeys work on every EmailMarketer.io plan, and contacts are free, so you can keep every user and former customer in one place. See journeys and pricing.