Onboarding emails triggered by product events
Replace day-based drips with emails that follow what users do in your product. Pick the activation event, plan your events, send them from your app and measure.
Onboarding email works best when each message answers something the user just did or failed to do. Your app sends an event, such as project_created, and a journey decides what to send next. This guide shows how to pick the one event that marks a user as activated, plan the rest of your events around it, send them from your code, stop emails once they no longer apply, and measure the result with clicks and conversions instead of opens.
Time-based drips and event-triggered emails
A time-based drip sends email 1 on day 0, email 2 on day 2, email 3 on day 5, whatever the user did. It is easy to set up and it ignores the product. A user who finished setup in ten minutes still gets “Here is how to finish setup” on day 2.
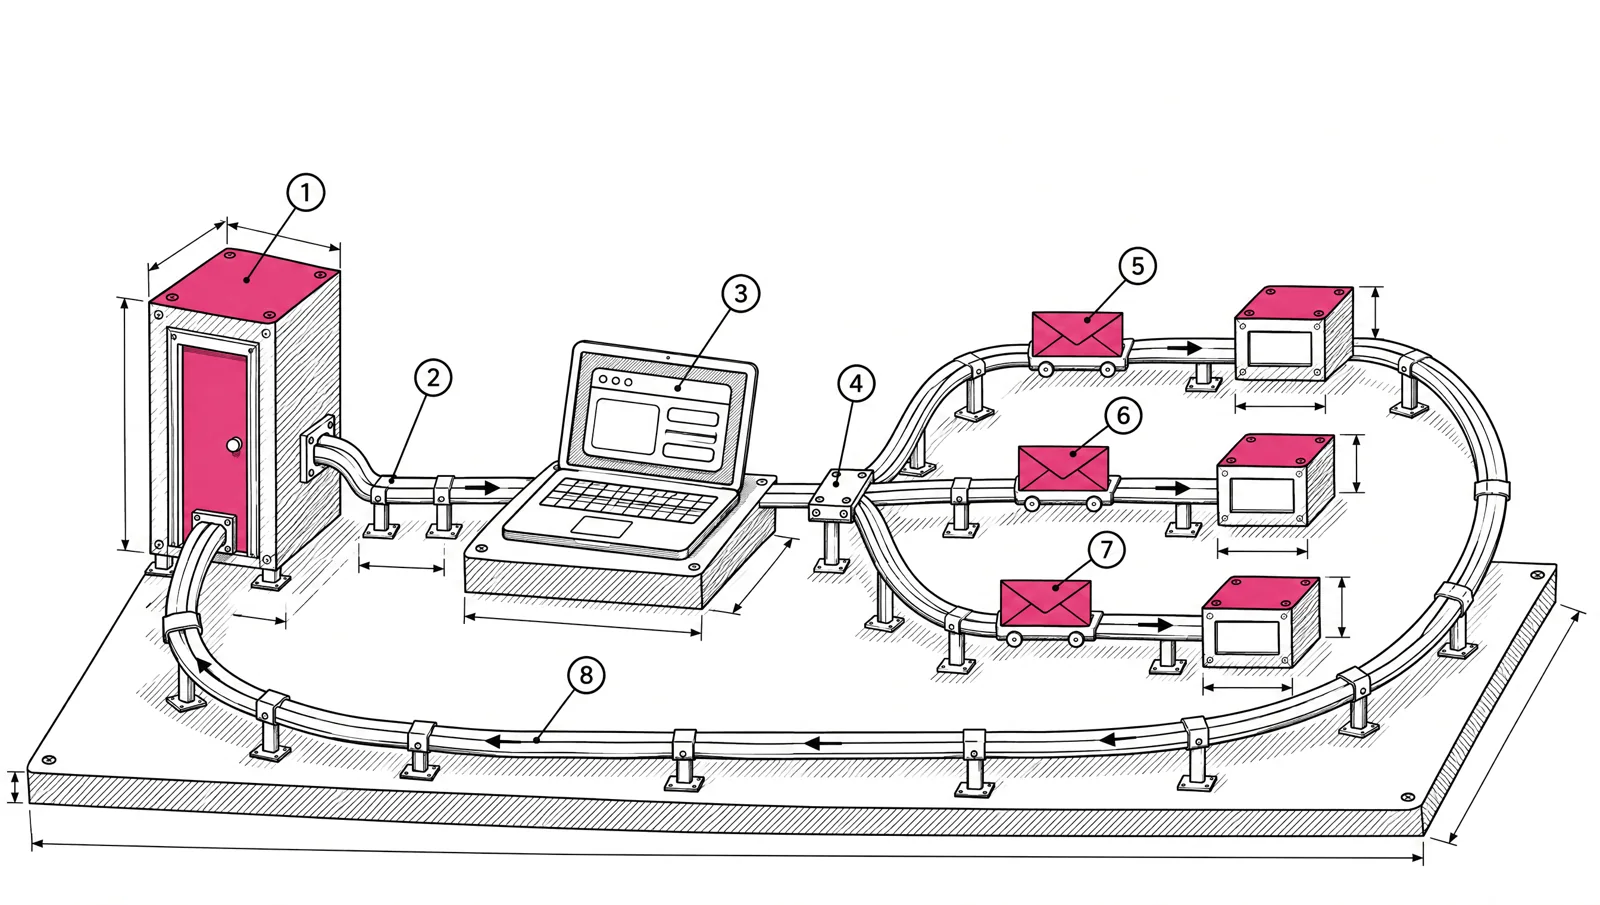
An event-triggered sequence starts, branches and stops on what happens in your app.
| Time-based drip | Event-triggered | |
|---|---|---|
| Starts on | Signup date | Signup, or any product event |
| Next email decided by | Days since signup | What the user did since the last email |
| Stops when | The sequence runs out | The user reaches the goal or leaves |
| Data needed | Email address and signup date | Events and a few fields from your app |
| Main risk | Irrelevant email to active users | Missing or late events |
You do not have to choose one. Most good onboarding uses waits for pacing and events for decisions: wait two days, then check whether the user created a project, then send the email that fits.
Pick the activation event
Activation is the first moment a user gets real value from your product. It is one event, and it should be something the user does, not something you do to them.
Good activation events share three traits:
- It predicts retention. Users who reach it in the first week stay longer than users who don’t. Check this against your own product data before you commit.
- It happens early. A new user can reach it in the first session or the first few days.
- Your app can detect it. It is a single action you can log on the server, such as
first_invoice_sentorteammate_invited.
Examples by product type:
| Product | Weak choice | Better activation event |
|---|---|---|
| Invoicing tool | Logged in twice | First invoice sent |
| Team chat | Profile completed | Three or more people posting in one workspace |
| Analytics tool | Dashboard viewed | Tracking snippet sending data |
| Form builder | Form created | First response received |
The weak choices are easy to reach and say little about whether the user found value. Every onboarding email then has one job: move the user one step closer to the activation event.
A sample event plan
Write the plan down before you write any email. It is a short table that your engineers and whoever builds the journeys both work from. Here is one for a fictional invoicing tool.
| Event or field | Sent when | What it does in email |
|---|---|---|
signed_up | Account created | Starts the onboarding journey |
company_profile_completed | Logo and address saved | Skips the “set up your profile” email |
client_added | First client saved | Moves the user to the “send your first invoice” step |
first_invoice_sent | First invoice emailed to a client | Activation. Ends onboarding, starts feature adoption |
plan field | Changes from trial to paid | Ends trial emails |
last_active_at field | Updated once a day, not on every click | Lets you find users who went quiet |
Keep names short, lowercase and in past tense. Decide early which data is an event (something that happened once) and which is a field on the contact (something that is true now, like the plan). Fields are better for state you want to segment on later.
How journeys start in EmailMarketer.io
A journey in EmailMarketer.io starts from a trigger. These are the ones that matter for product-led onboarding:
- Manual, through the API: your code adds a contact to a specific journey.
- Custom event: your app records an event such as
client_added, and any journey listening for it starts. - Tag added or removed: your app tags the contact, for example
activated. - Custom field changed: a field such as
planchanges value. - List subscribe: the user lands on a list, often right after signup.
- Link click, conversion and journey completed: useful for follow-ups and for starting the next journey when one ends.
Inside the journey you add waits, branches on conditions, email steps and webhook steps. A webhook step calls your own server, which is handy when the journey should tell your app something, such as “this user finished onboarding”. Every step shows its own stats, so you can see where people drop out.
Send events from your app
Send events from your backend, not from the browser. The server knows when an invoice really went out, and your API key stays out of the page source.
The exact paths and field names are in the API reference inside your EmailMarketer.io account, which also has a playground for test calls. The examples below are an outline of the shape of the calls. Replace the placeholder URL and fields with the ones from the reference.
// Outline only. Take the real path, auth header and field names
// from the API reference in your EmailMarketer.io account.
const API_BASE = 'https://app.emailmarketer.io/api/...';

async function trackEvent(email, eventName, properties = {}) {
  const res = await fetch(`${API_BASE}/<event-endpoint>`, {
    method: 'POST',
    headers: {
      'Content-Type': 'application/json',
      Authorization: `Bearer ${process.env.EMAILMARKETER_API_KEY}`,
    },
    body: JSON.stringify({ email, event: eventName, properties }),
  });
  if (!res.ok) {
    // Log and retry later. Never block the user's request on this call.
    console.error('event failed', eventName, res.status);
  }
}

// After the invoice is saved and emailed to the client:
await trackEvent(user.email, 'first_invoice_sent', { invoice_count: 1 });
Adding a contact to a named journey has the same shape: one authenticated POST with the contact and the journey. As a shell command:
# Outline only. See the API reference in your account for the real path and fields.
curl -X POST "https://app.emailmarketer.io/api/..." \
  -H "Authorization: Bearer $EMAILMARKETER_API_KEY" \
  -H "Content-Type: application/json" \
-d '{"email": "jane@example.com", "journey": "<journey id>"}'Build the journey around the activation event
A typical onboarding journey for the invoicing example:
- Trigger: custom event
signed_up. - Email: welcome, with one link to the next step (add a client).
- Wait: 2 days.
- Branch: has the contact sent
client_added? If yes, go to step 6. - Email: how to add a client, with a short video or a link to import clients.
- Wait: 2 days.
- Branch: has the contact sent
first_invoice_sent? If yes, end. - Email: send your first invoice, with a template link.
- Wait: 3 days, then one last nudge from a person on your team, or end.
Four emails over about a week is enough. Users who activate early get one or two.
Exit conditions
An exit condition is the rule that takes someone out of a journey before the next email. Without exits, event-triggered onboarding turns back into a drip.
Put a check before every email step, not only at the end. The checks that matter most:
| Exit when | How to detect it | Why |
|---|---|---|
| User activated | Activation event received, or an activated tag | The rest of onboarding no longer applies |
| User upgraded | plan field changed to paid | Stop trial reminders at once |
| User deleted the account | Tag or field set by your app | Never email a closed account about setup |
| User unsubscribed | Handled for you | Unsubscribed contacts don’t receive marketing email |
A simple pattern: when the activation event arrives, your app also adds an activated tag. Every branch in the onboarding journey checks that tag first. The activated tag can then trigger the next journey, such as feature adoption.
Measure with clicks and conversions
Do not judge onboarding emails by opens. Apple Mail Privacy Protection and image proxies make opens unreliable, as our post on email metrics explains. Measure what the email was meant to cause.
| Question | Metric |
|---|---|
| Did the email get attention? | Clicks on the main link |
| Did it cause the action? | Conversion: the target event within a few days of the email |
| Where do users stall? | Per-step stats in the journey |
| Is onboarding working overall? | Share of new signups who reach activation within 7 days, before and after the change |
Conversions and revenue show in EmailMarketer.io reports once you track them. The last row comes from your product data. Compare cohorts of signups from before and after a change, not individual emails.
Checklist
- Choose one activation event that predicts retention and that your server can detect.
- Write the event plan: events, fields, what each one does in email.
- Send events from your backend through a queue.
- Build the journey: trigger, waits, branches on events, one goal per email.
- Add an exit check before every email step.
- Measure with clicks, conversions and activation rate, not opens.
- Start the next journey when this one ends. See the first five lifecycle journeys a SaaS should build.
The journey builder and the API are on every EmailMarketer.io plan. See journeys and how EmailMarketer.io works for SaaS teams.